Please make sure that you have ticked off the items in the Checklist before trying to build your automation.
Checklist
- Professional Zapier account
- You need a professional account to be able to connect to the BeeLiked integration. If you don’t already have one, you can purchase a Zapier account here
- Google sheet
- You’ll need a Google sheet you can edit. You can read more on that here
- BeeLiked
- If you don’t already have a premium plan, you can click here to upgrade your account
- You’ll need your BeeLiked API credentials. You can request these from your account manager
- Finally, you’ll need a BeeLiked promotion
Once you’ve completed these preliminary steps, you can go ahead and start putting the automation together.
Setup the Automation
1. Review the configuration and setup details
Please read the detailed instructions on how to set your zap up by clicking on Add Notes in each relevant step of the Zap on this page before you begin
2. Copy the Zap into your Zapier account
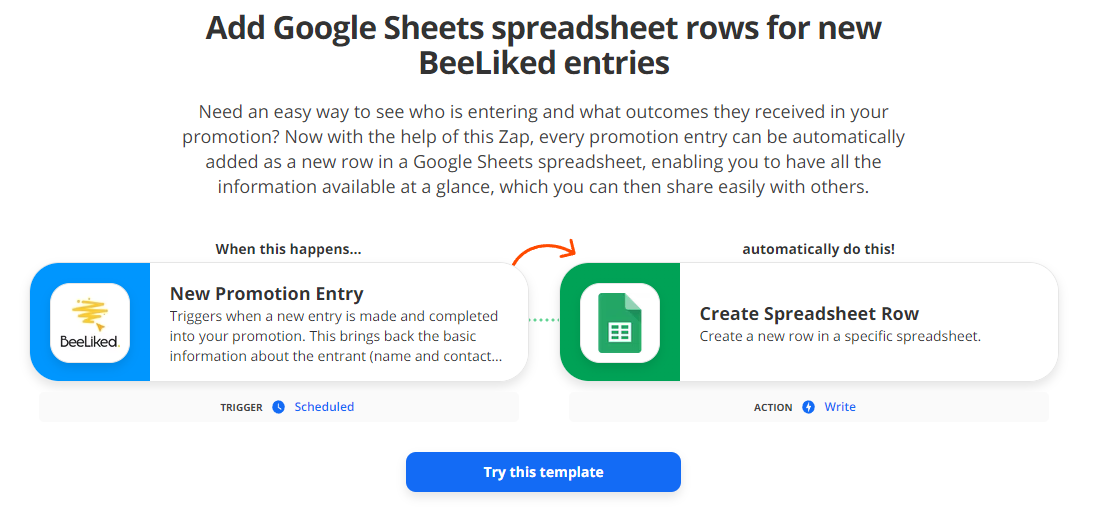
When you are ready to begin, click on the Try this template
You will see something like this
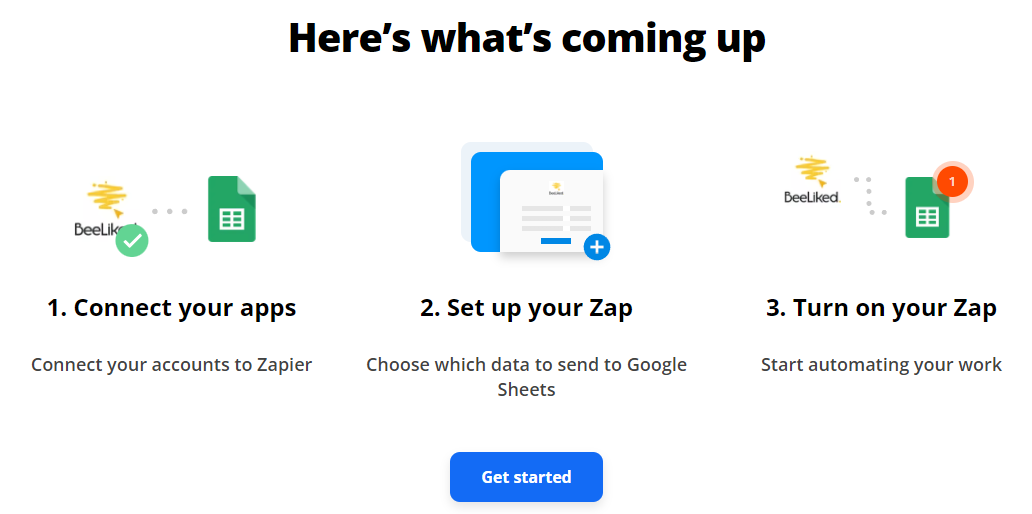
Click on Get Started
The template Zap will then be copied into your Zapier account. Follow the instructions to configure your Zap and connect your BeeLiked and Google accounts.
3. Test the automation
Make an entry into your BeeLiked promotion, then go to the Google sheet you will have set up as part of Step 2. If everything has been configured properly, a new row will be added to your Google sheet with the entry data for that entry you just made.