Auto Emails - Activating, Creating and editing
Learn how to activate and where to edit the automatic emails BeeLiked can send to your entrants
A great way to further engage entrants in your promotions is to send them an email after they have entered. The email can be used to thank them for entering, send them follow-up information, or even offer a discount.
To send auto emails, you need to set up email sending and have either a Premium or Enterprise plan.
You can configure the contents of this email and, using ShortCodes can also include dynamic content such as their name and other information collected from their entry form and details about any resulting message they received from their entry to the promotion.
You could also include unique coupon codes in the email if you have set up a Coupon Collection to work with your promotion.
Until you have configured your email, the option to add an email to your promotions will not appear in the Builder.
If you have the Premium or Enterprise Plan and have already configured your email sending but do not see the option for 'Emails' in your campaign Builder (as shown below), please reach out to the support team to request that this be enabled for you.

1. Open the Email editor
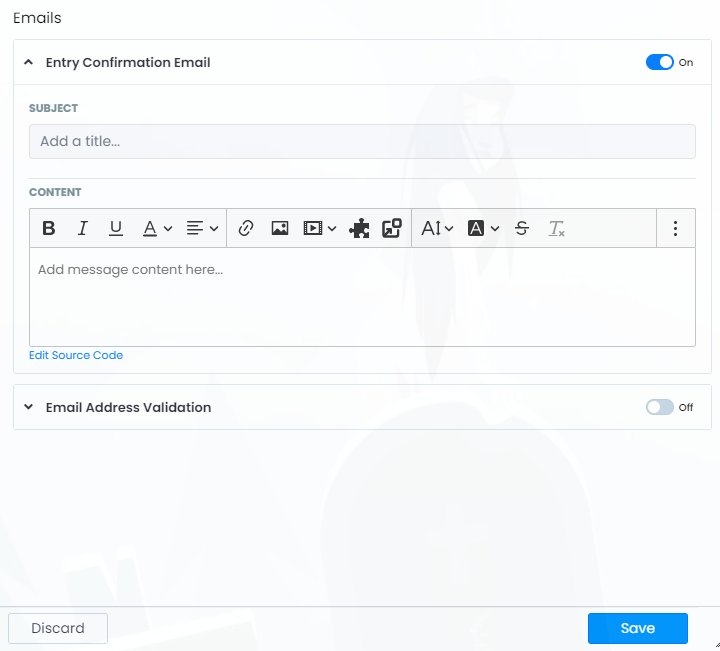
Go to the Emails tab in the left-hand menu within the Builder. In the example below, we will edit the email that is sent to an entrant after they complete all the steps in your promotion.
2. Edit the email
Just simply edit the text/images in the WYSIWYG editor, or if you'd prefer, you can click on Edit Souce Code to craft your email in HTML.

Once you are happy with the email, you just need to click the Save button.
